Friday, March 19, 2010

Garden Preemie Nursery - Saturday Night Special

I'm joining Saturday Night Special again this week over at
Funky Junk Interiors.  Come on over and see all the inspiring projects.


As part of the major cleanup in the garden after our soggy cold and wet winter, I've
been pulling out garden ornaments in need of some attention.  I'm tired of the "rust"
look on many of these plant stands and outdoor thingies, so I got together with
some of my new favorite color of green spray paint. 

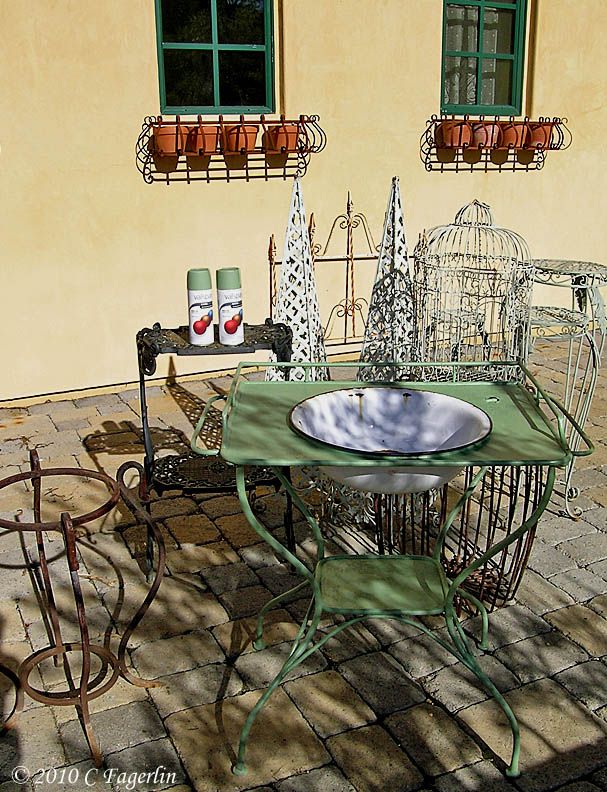
As often happens I started in with the spray paint and I forgot to get a before shot
of this vintage wash stand with enamel bowl.  But believe me, it was completely
rusted and all it's chippy paint was gone.  At one time this resided in a very
pink girly girly guest room, then moved to the garden for a number of years.

It certainly needed some sprucing up for Spring!
Here it is with its first coat of paint, with some other garden ornaments
waiting in line for their makeover.


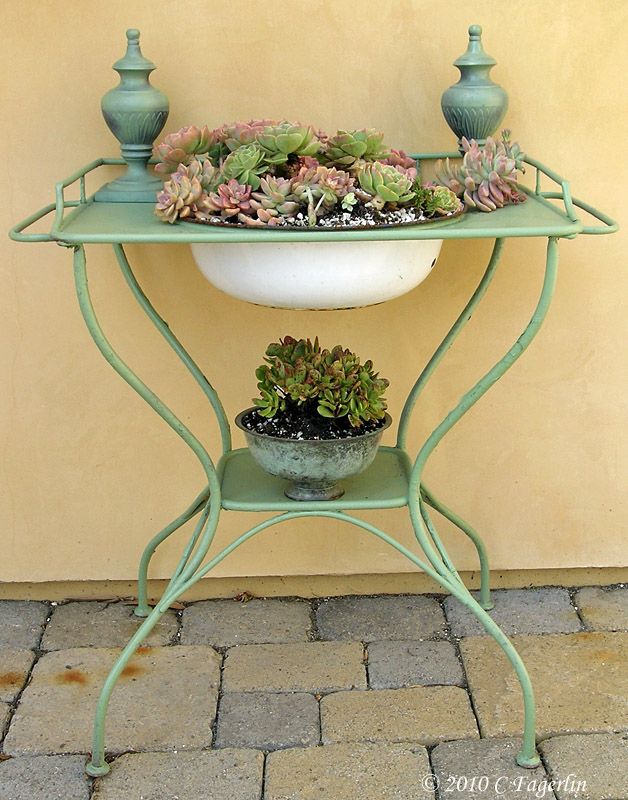
I did some thinning in some of the succulent beds and took some clippings from another,
added some potting soil and here is the little wash stand all ready for a summer in the garden.
It is important that any container with succulents in it have very good drainage.  The
enamel bowl has drainage holes drilled on the bottom so the roots aren't standing in water.


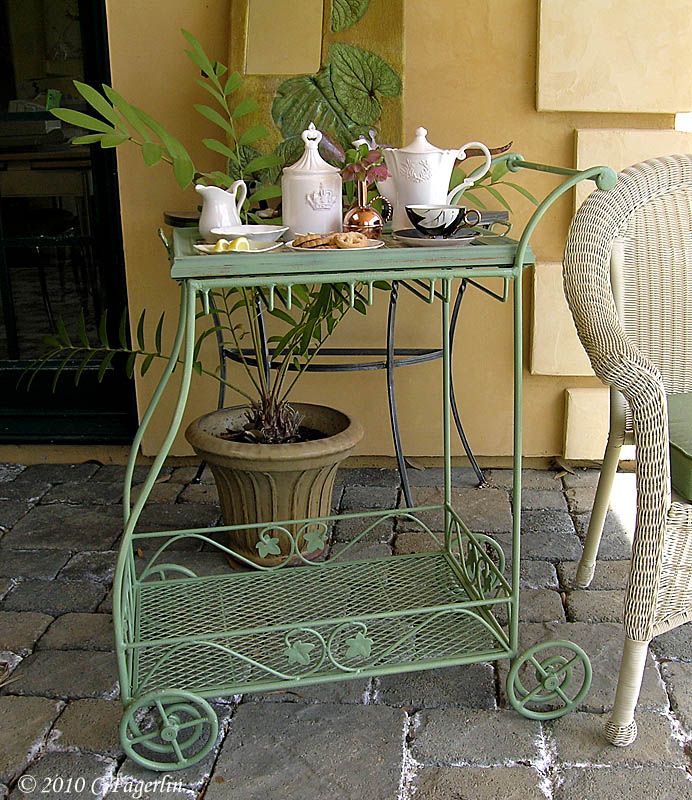
Next in line was a tea cart.


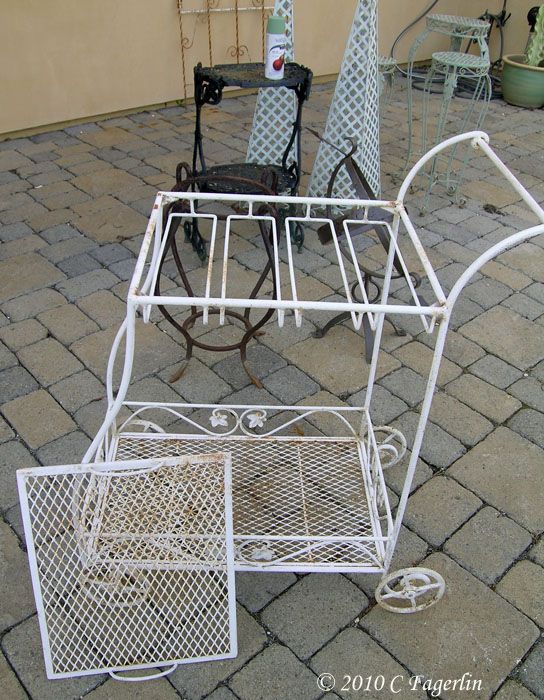
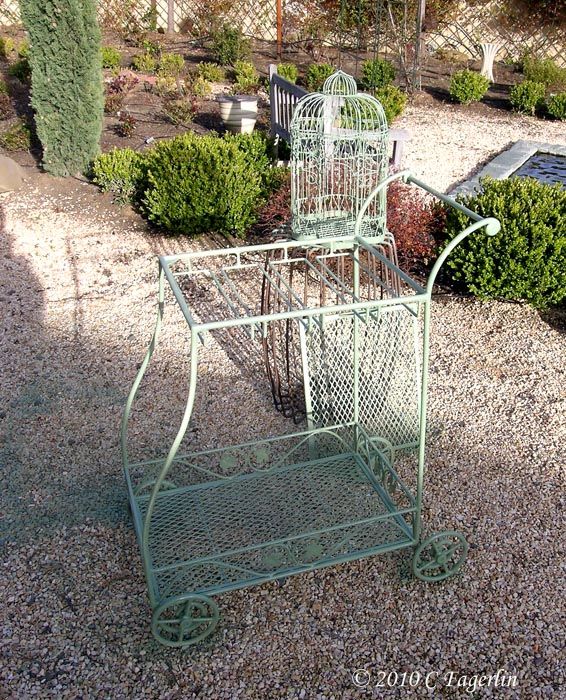
On Tuesday my little green tea cart attended some blog tea parties, but it was destined
to serve as the mobile portion of my succulent nursery, as it has for several years.


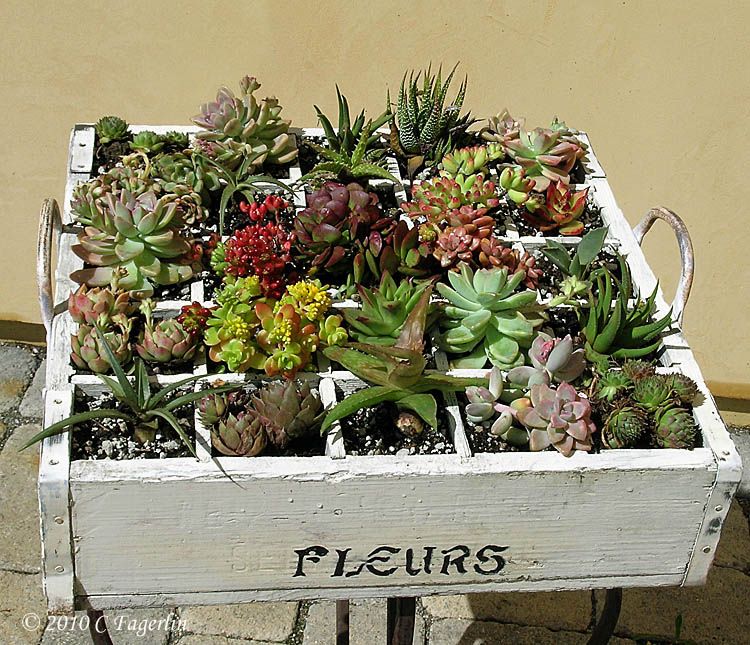
This old German beer crate  has served as a NICU for baby, tattered, abused and torn
succulents for about the last six years in my garden.  It works extremely well in protecting
"fallen angels" (the little pieces and bits that get broken off during the winter months)
from their more robust counterparts and from other dangers in the garden.
I also dig these little guys from places they shouldn't be, like between the pavers
on the patios.  If you don't have a garden that is over run with these guys, check
your local Home Depot for succulents in tiny pots to accomplish the same "look."


They quickly put out new roots in their protected environment and
within a few months will be ready to be transplanted back into the
garden beds.  Over the summer months other orphans and new
offsets are added as space opens up in the nursery.


  The cart allows me to move the babies in and out of the sun until they toughen up a
bit and I'm also able to bring them in under cover should the nights turn frosty again.
Our official frost date is April 20th here in Zone 10B.


It's important, if you are planting these little guys in this kind of situation, to
make sure they are not sitting on concrete or other hard surfaces that 
prevent air flow and will cook all the little roots that you are trying to grow.
You can see in the image below that this cart will allow good airflow 
from underneath the crate.


I've employed several different planting methods over the years, all
of which worked equally as well in promoting fast growth for the kids.

1. pack sphagnum moss in the base of each opening, drop in some
potting soil appropriate for succulents, which need good drainage.
Add your plant and fill around the top surface with more moss.

2.  Use the tiny little plastic pots that many succulents are sold in,
again packing the bottom of each opening with moss.  The roots
will search out the openings in the bottom of the pot and fill the
moss with a mass of roots.  When ready to plant, just cut away
the pot, retaining the new root mass with the plant.

3.  The method I used this year was to line the interior of the
crate with a lightweight screening material (you could even
use newspaper or cardboard) to keep the soil from washing
through the bottom slats of the crate. The screen can also
be stapled to the bottom of the crate, if you want the down 
and dirty quick way!  Again fill the base of each opening with
moss, add potting mix, your plant and tidy up around the top
surface adding moss if you want to, I left it off this year.

Give the whole thing a quick shower with the hose and then
watch your babies grow!  Remember that succulents don't
need a lot of water and can not take up water until they
have roots to do so.  Don't over water these kids or they
will rot and die off over just a few weeks.


Give it a try, succulents are the easiest things to grow!

12 comments:

  1. I love it all! The variety of colors in the succulants is so amazing!

    ReplyDelete
  2. Those are so beautiful! I am such a sucker for outdoor metal pieces. Can you come over to my house and work your magic?

    ReplyDelete
  3. GREAT Information. I'm going to try to grow these. I've seen succulents before, but they've never looked so beautiful. I love the way you have the colors working with one another.

    ReplyDelete
  4. Beautiful plants. I have a baby one I'm trying to grow. People tell me it's a jade plant, but I don't think so. I'll have to remember to get a picture of it.

    ReplyDelete
  5. Ok, you nearly made me cry. :) I am LOVING this! So creative! I need to put you up on the SNS sidebar pronto. And bookmark you. And all that good stuff.

    Thanks for linking up!
    FJ Donna

    ReplyDelete
  6. Just beautiful! So many great ideas! I know have some new items to hunt for. And I just loved what you did with the wood crate and all of it's cubby holes. Great ideas here and thanks for showing us what you did!

    ReplyDelete
  7. What an awesome succulent nursery!!! Love this...will keep my eyes out for a metal cart on wheels like this!!! Yours is just the cutest!!!

    ReplyDelete
  8. Aack! I love it all! Brilliant use of a beer cart and I love the green. Beautiful.

    ReplyDelete
  9. Finally-

    I'm starting to see some green paint.
    I love the green on all your outdoor goodies.
    The soda box full of succulents is absolutely adorable !
    found you at Donna's SNS great post

    ReplyDelete
  10. I think you are getting me hooked on buying some succulents! What is the color of paint you used? I was looking at it yesterday and could not decide so I left empty handed. Was it Leaf Green?
    ~anita

    ReplyDelete
  11. Hermoso trabajo! Buena elección de soporte, buena ambientación. Las plantas suculentas son unas niñas muy agradecidas...
    Saludos!

    ReplyDelete
  12. Thank you everyone, it's a fun thing to bring this back to life each Spring with all the new babies gathered from around the garden.

    I'm loving the green paint, have done the whole white and "rust" thing for years and this is a nice change.

    ANITA - THE PAINT COLOR - Valspar Satin (Interior/Exterior) spray paint, color is 65084 Everglade

    And "Gracias" to Mónica!

    Candy

    ReplyDelete

Thank you for your lovely comments.

Related Posts with Thumbnails