Showing posts with label Kitchen. Show all posts

Monday, January 31, 2011

Kitchen Colors

I'm playing along with the everyone over at Nesting Place
with some of my Paint Colors

When we built this house in 2006, I treated myself to a couple of sessions
with a "color advisor."  With large expanses of wall areas and high ceilings, mistakes were not going to be made. It was important to get it right the first time around.

The BEST money I ever spent.  The first visit was on a dark cloudy day to the yet unfinished house with bare raw plaster walls. The second visit was on a sunny day.  Initial colors were chosen, color boards were prepared, a couple colors were eliminated, and final choices were made. An excellent 3 hours of time to choose one of the most important elements in the overall feeling in a home.

Second guessing decisions is a part of making so many critical choices over a few months time,  as a home goes from design to final result.  So it was that our painting contractor tried to talk us into "color matching" the brand of paint he preferred to the colors personally chosen by my color advisor.

Walls were painted with splashes of color from the chosen colors and
then side by side with the "matched" colors.  Not even close to the softness, warmth, "alive" feel of the real thing.  So the final decision was to go for the expert's choices and it was the best decision I ever made.  That being said, it is impossible to capture the way the colors of these rooms change with the seasons and with the light on any given day. They truly do reflect the "mood" of the day.

Kitchen Colors
Benjamin Moore
199 Barley
2144-40 Soft Fern
492 Dune Grass

A tip here from my advisor:
We dealt with only color #'s assigned by the maker, not the color names which can sway you just because of the emotional pull of one name over another.
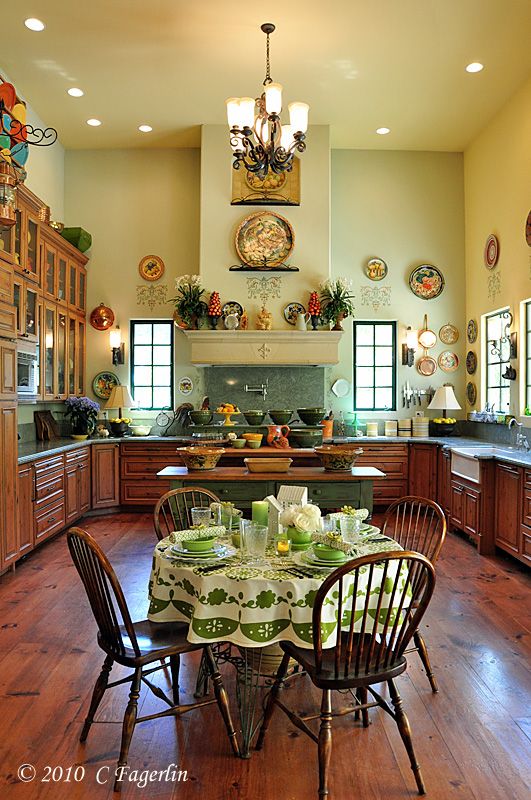

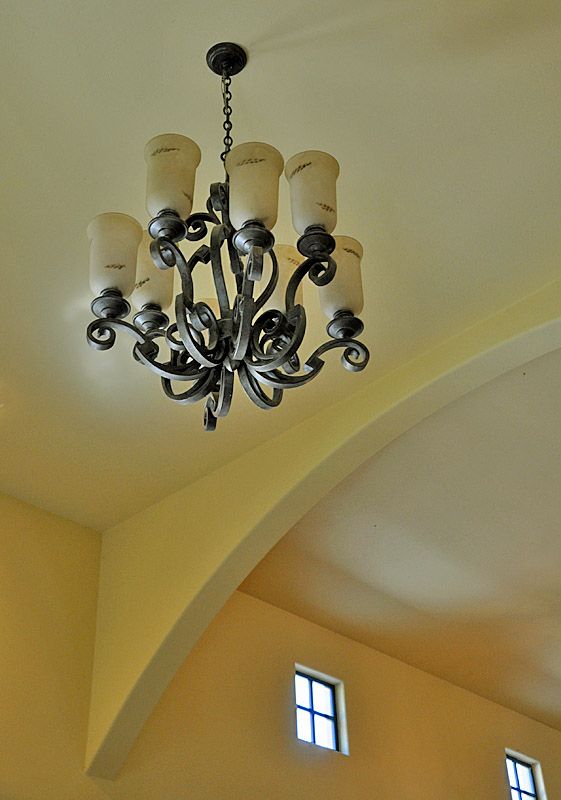
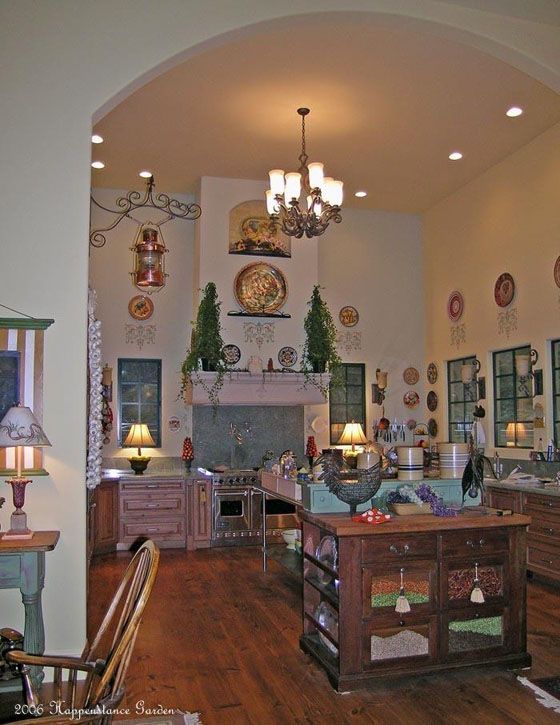
The exhaust hood bump-out over the range is 492.
The right hand wall and ceiling in these images is 199, which
is the main color used for many of the rooms in the house.
The back and left hand walls are 2144-40.
The light playing on the back wall changes the whole look of the color.

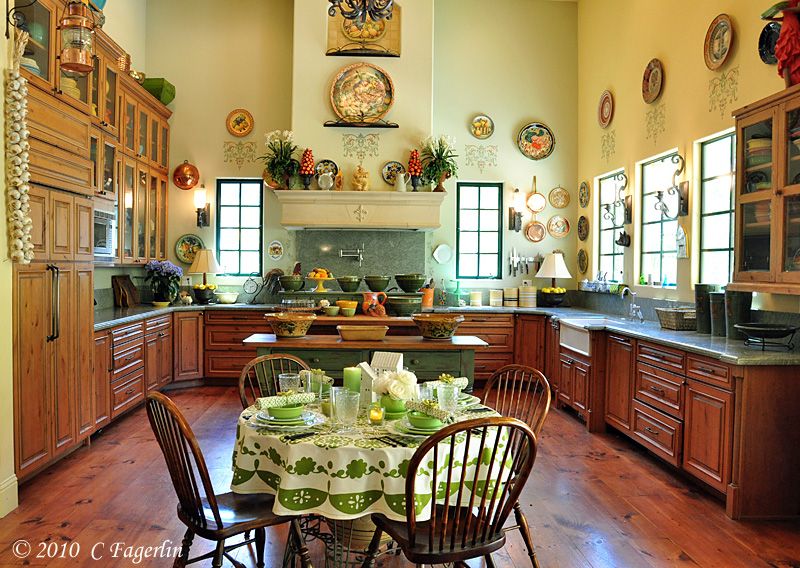
My limitations as a photographer make it hard to convey the true beauty of these colors, but let me assure you that I wouldn't change a thing after four years.

Thanks for stopping by to visit!

Tuesday, October 12, 2010

Heart of the Home Kitchen Party

Welcome to the Heart of The Home party hosted by Note Songs
Jump on over to tour all the featured kitchens.

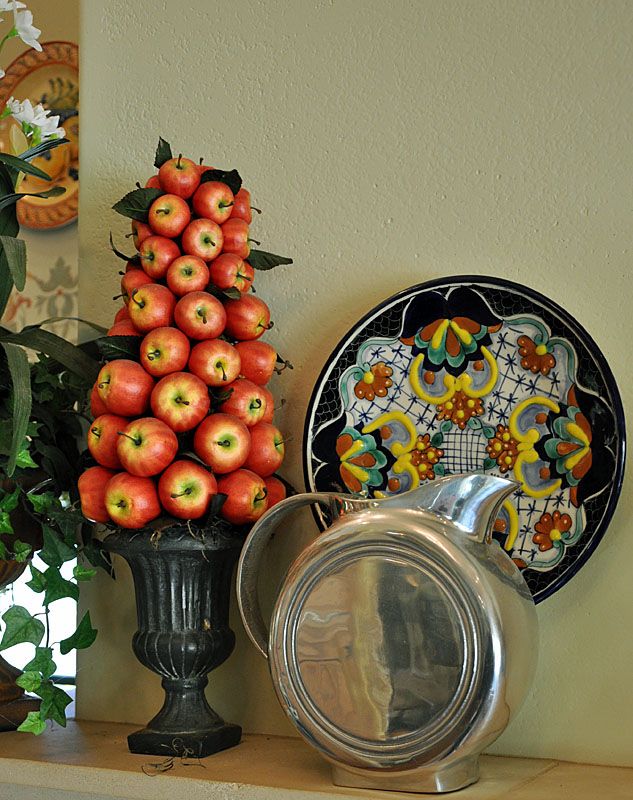
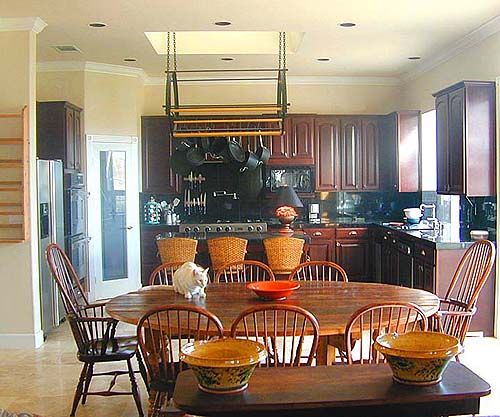
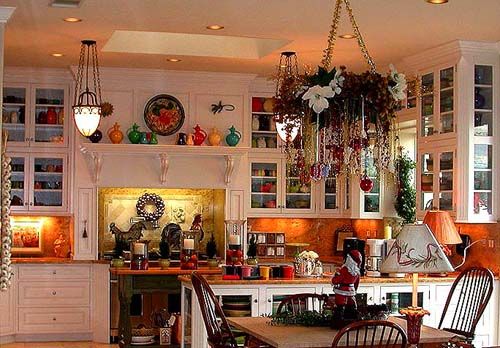
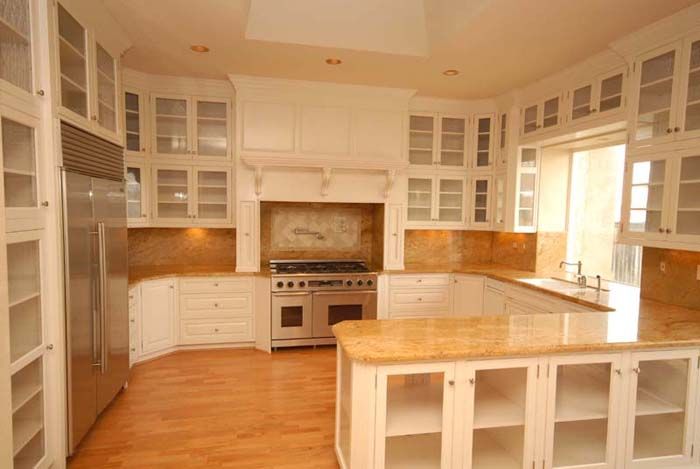
The kitchen is the heart of most homes and I am pleased to share some additional images of my kitchen with you.  Normally my kitchen appears several times each week as the backdrop for tablescapes, but this time I'm sharing some of the details that make up that backdrop.  Each element in my kitchen has its own story, a mix of vintage and new that is constantly evolving.

Read about building the house/kitchen in 2006 in the following post:
The Evolution of My Kitchen
Lots of info and details on the kitchen are included in the comment section of the Evolution post.


Some of the basics:

15 ½ foot ceilings
3 colors of paint on the walls
solid pine flooring
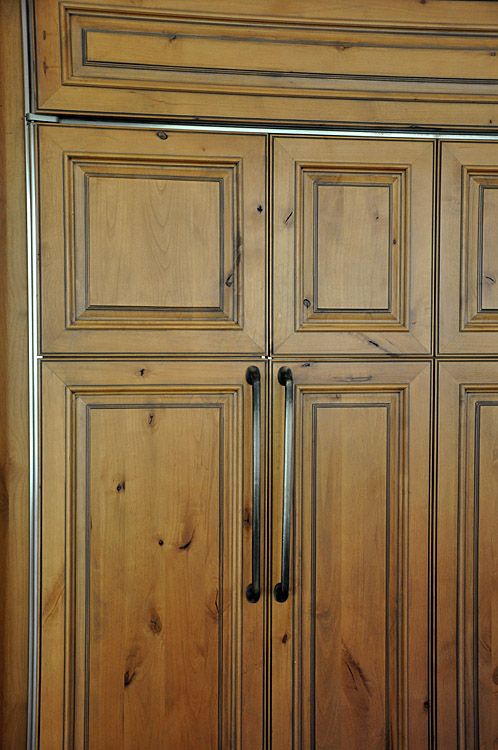
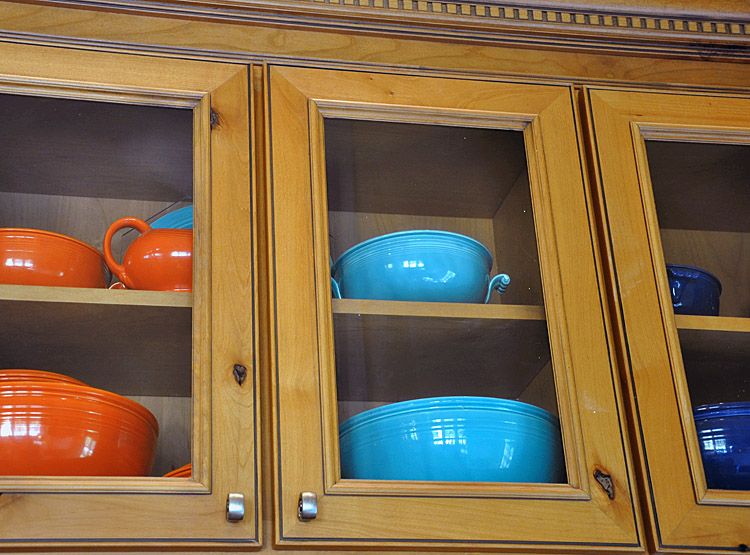
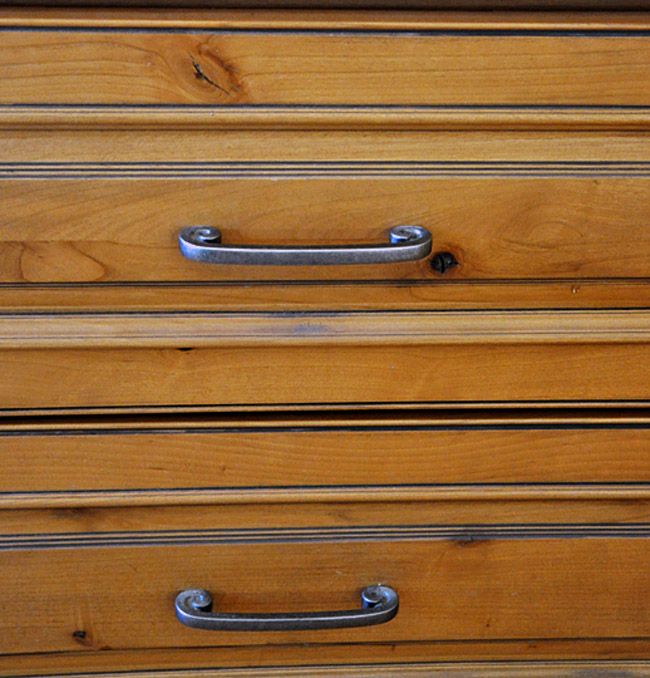
Alder cabinets
the faux stone mantel is cast concrete

Most of my dishes are stored in the pantry hall that backs up to the wall on the left
You can read about some of my storage solutions at the following link:

And my favorite element in my kitchen is the year round California sunshine.  The influence
of this natural light changes the mood and colors in the kitchen throughout each day.


Thank you for coming to see my kitchen! Please feel free to ask me questions about the kitchen in the comments section, I love to talk dishes and tablescapes and my favorite room in my house.


Yesterday's tablescape: Mairzy Doats

A recent Playing With Paint post about painting one of the kitchen islands:

All the tablescapes from 2009 can be seen as clickable thumbnails at the following link:

Clickable links with thumbnails of 2010 tablescapes are on the following link:

Red Hot Chilis


I'm linking up to It's A Very Cherry World for the weekly dose of Rednesday
and

Red Hot Chilis is an overflow image from today's post for the Kitchen Party called
Heart of the Home.  Be sure to check out the other shots of my kitchen that belonged to
this same group of images for the kitchen party! 

Tuesday, August 3, 2010

The Evolution of That "Other" Kitchen

I've gotten emails requesting images of that "other" kitchen .....
what other kitchen you might ask?

About 10 years ago I posted the complete saga of the renovation of the kitchen in our
last house on my website.  Everyone agonized with me for the 2+ months it took to get my
house back and then Country Collectibles did a nice article on the kitchen ....
well not really on the kitchen, just the dishes.

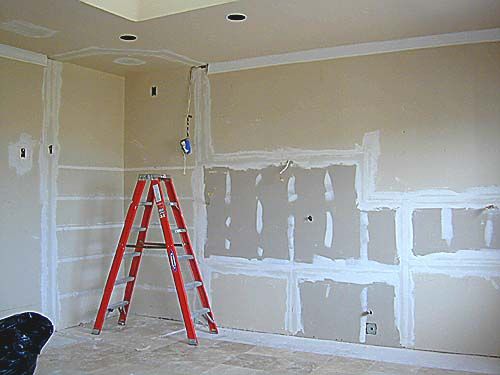
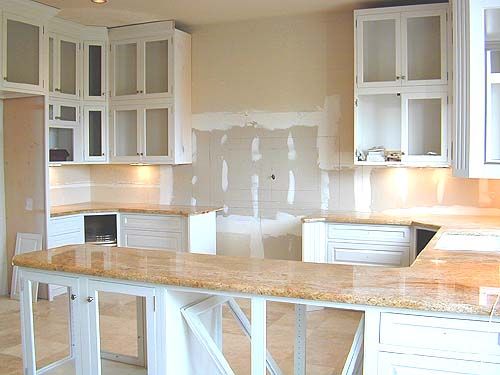
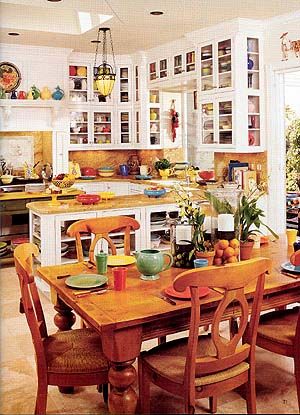
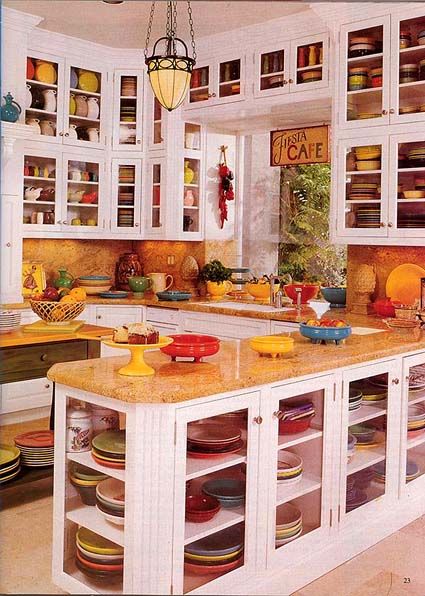
As I was sorting old images today, I ran across some pictures from that article and the demo as it progressed. So for those of you who have asked for a rerun and for those of you who just wondered what that other kitchen looked like, here is the short version.

Brand new house, hated the kitchen, but the lender insisted it be installed as designed by the builder and completed before the loan could be finalized. OK. Move in, wait a year or so .... demo and start over.  All the cabinets and appliances were donated to a local church for their kitchen.

It was a perfectly nice kitchen.


Saying. "Goodbye kitchen." when we put the house on the market in November 2007.

It sold in seven days, the kitchen did it. :-)

Did you notice the hanging fixtures (hand made by a wonderful Southern California company) did NOT go with the house ..... they came to live with us in the new house.


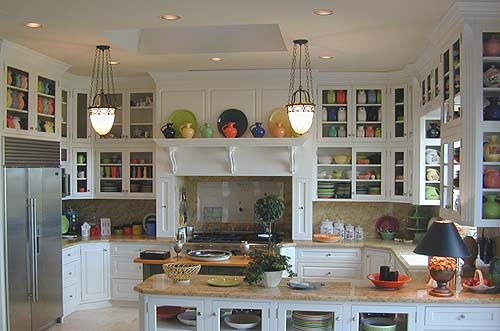
If you check the layout, you can see that it is pretty much just what I used for the new
kitchen, although the new kitchen got stretched out a little bit both ways and I blew
the ceiling way up there!


Thanks for asking to see that "other" kitchen and to answer the other most asked question -
No I won't be doing this again anytime soon.  I love my kitchen.

Friday, July 9, 2010

Timberlake Island

I'm joining up with Jenny Matlock for Rainbow Summer School
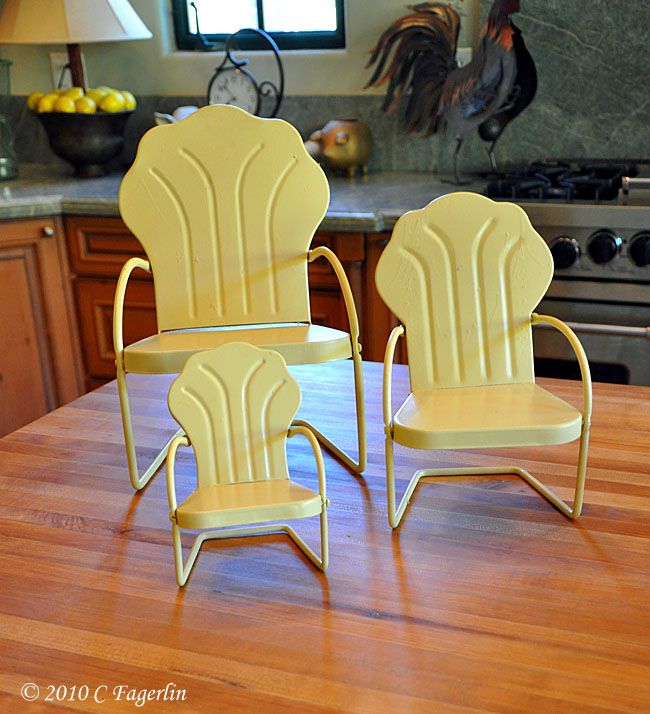
This week's color is Yellow!


Come on over to Between Naps On The Porch for Susan's weekly extravaganza!
It's time for Metamorphosis Monday!

I'm joining in on Saturday Night Special over at Funky Junk Interiors with a makeover that has been in my mind for the last three years.  I've finally done it!

I'll also be linking up to Furniture Feature Friday over at Mustard Seed Creations
with one of my all time favorite pieces of furniture.

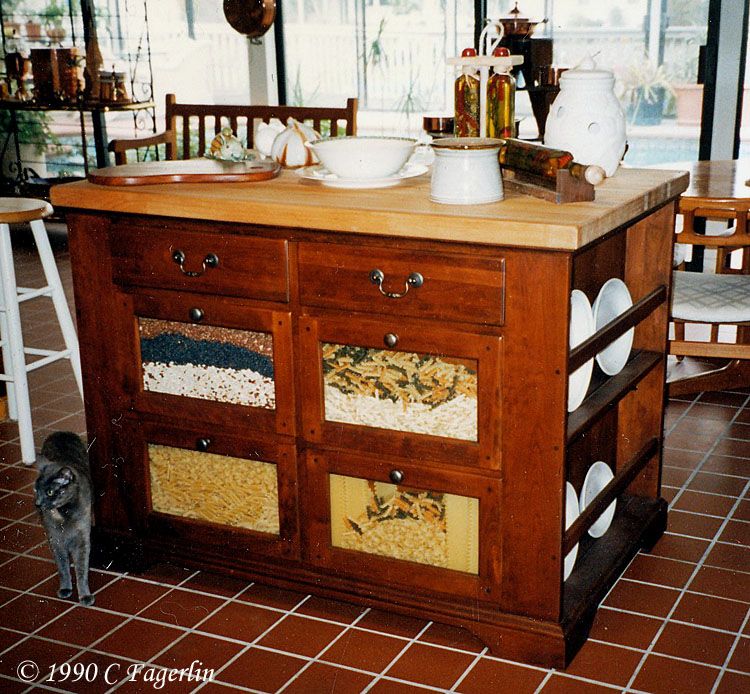
Timberlake Island is a wonderful free standing kitchen piece I've had for about twenty years.
Made by Bob Timberlake, it has been in the kitchens of our last three homes, as well as spending
a few years in my daughter's kitchen and a few years in storage because it never really worked in
our last house.  Here it was circa 1990 in our house on the water in Marin.


And as it appeared in one of the positions it has held in my current kitchen.
I have several free standing pieces that I use in the kitchen and I rearrange
them frequently.  The large stainless prep table has moved to the greenhouse
recently, as it was a catch-all for "stuff" and wasn't being used as a prep table. :-)


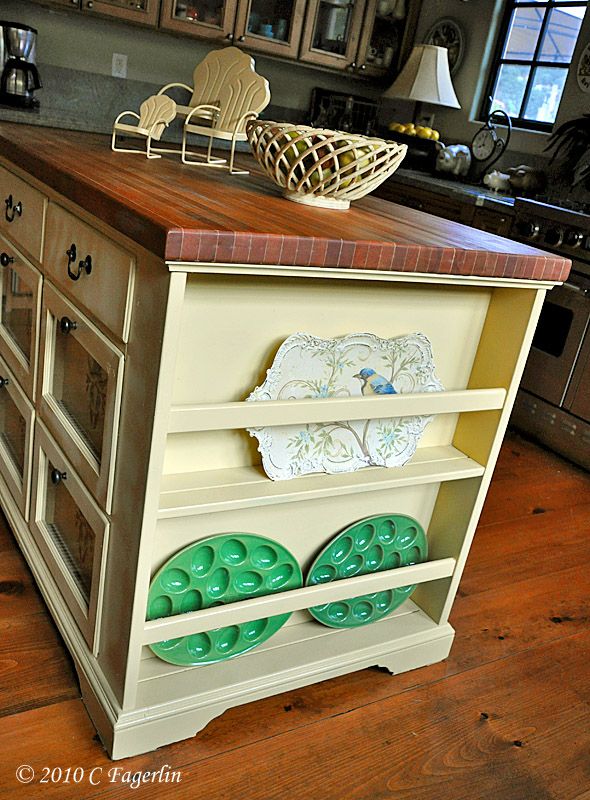
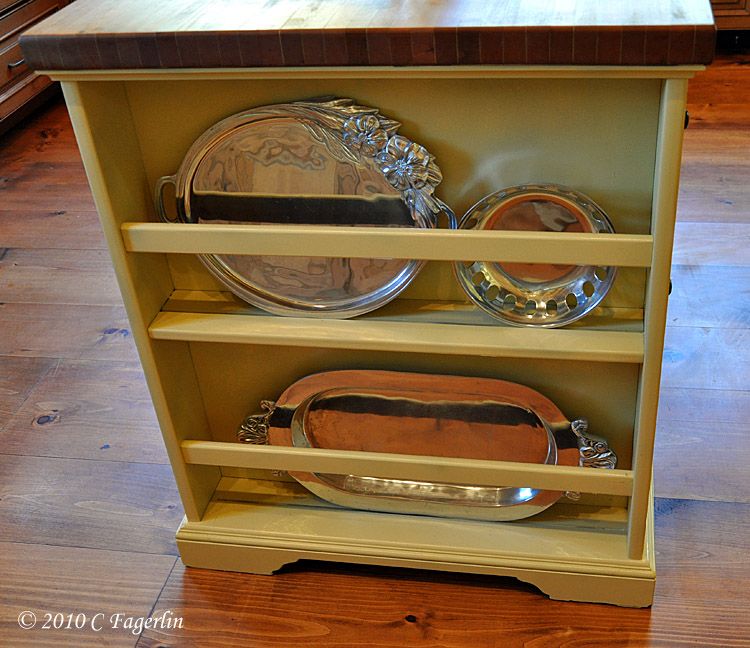
The wood island is extremely heavy even when empty. Each side has 4 large drawers and two small drawers, plus a plate rail on either end.  It also has a wonderful butcher block top that has been refinished twice in its 20 year lifetime.  I refinished the butcher block 3 years ago shortly before we moved to this new house and it has taken me all this time to figure out how I wanted to refinish the base.

Considering paint colors.

My favorite outdoor green was too green.
My favorite neutral "Fossil" was too gray.
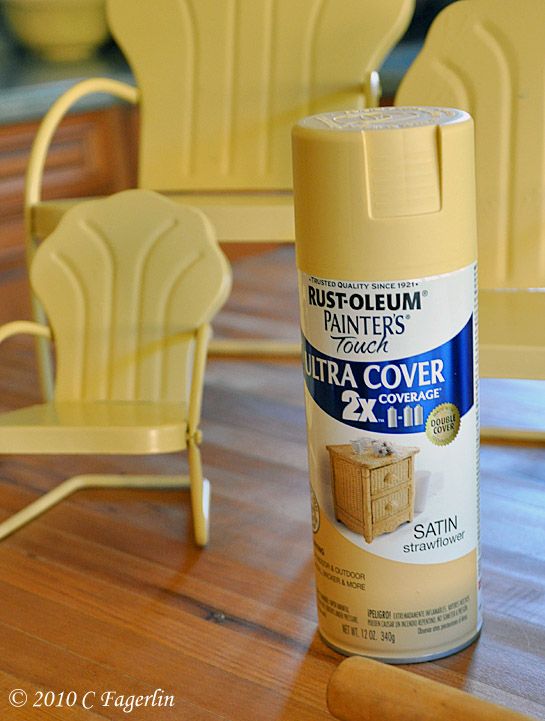
So my final choice was my new favorite "Strawflower"


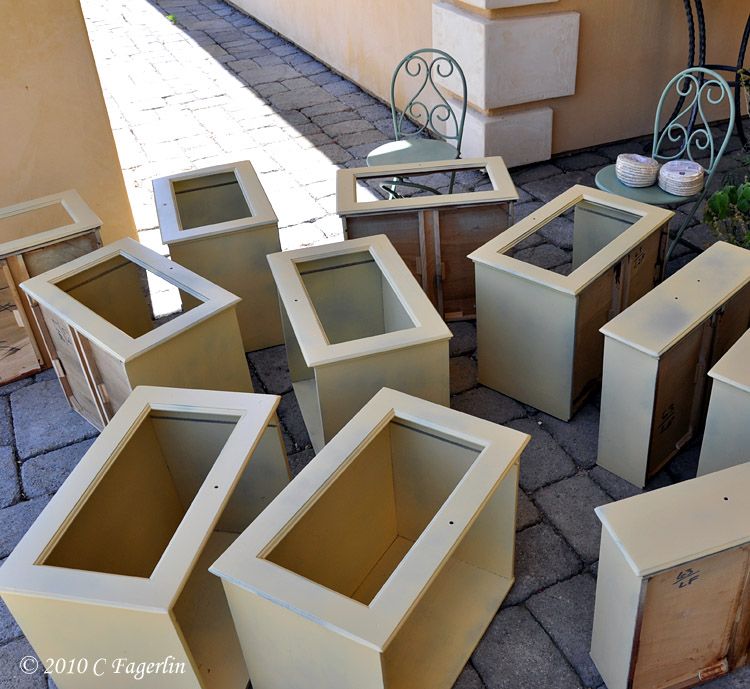
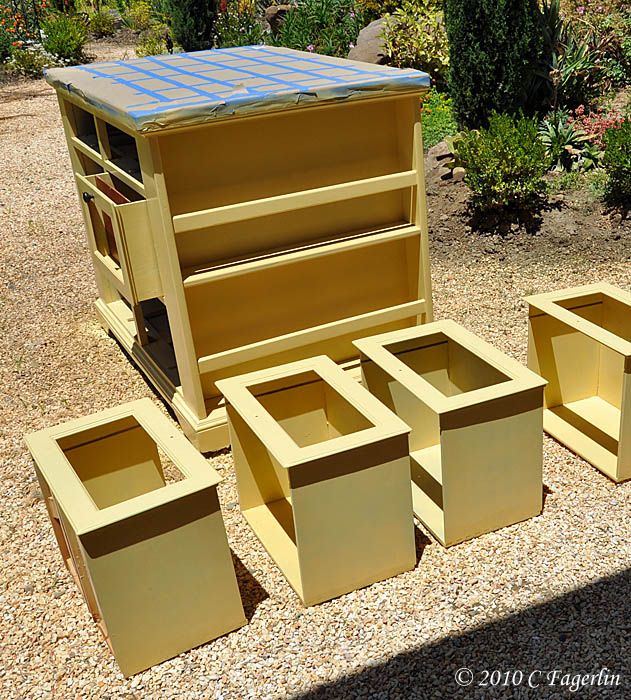
A sea of drawers, some primed and some with a first coat of Strawflower


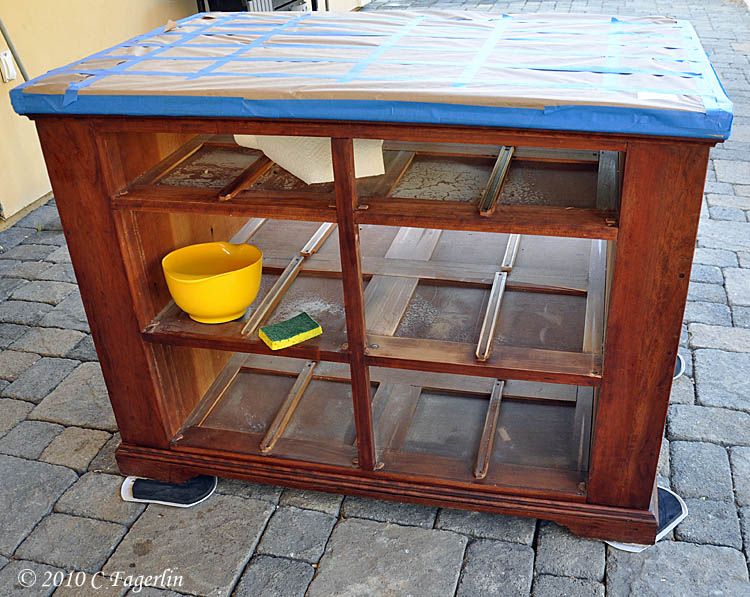
I chose to wash the base with lacquer thinner, rather than try to strip it completely or sand it, which would have been difficult with all its crevices and inaccessible places. The butcher block
top was bleached with a solution of Chlorox and water, thoroughly dried and then covered in paper and taped up.


And the paint went on.


More paint


And a coat of clear sealer before I brought it back inside.
It was positively glowing in the bright afternoon sunshine.


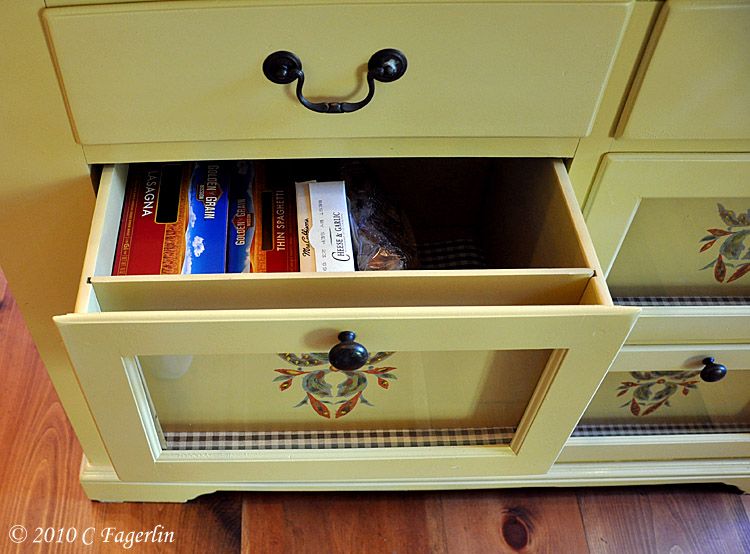
The spacer panels in the fronts of the large drawers were still the original finish, so the
next step was to test out some ideas I had for painting them and doing something decorative to them. The glass front panels also needed to be reinstalled.  I won't be putting the beans, peppers, pasta back in the drawer fronts ...... it takes constant vigilance to make sure creepy crawlies don't make their homes in the bin fronts.


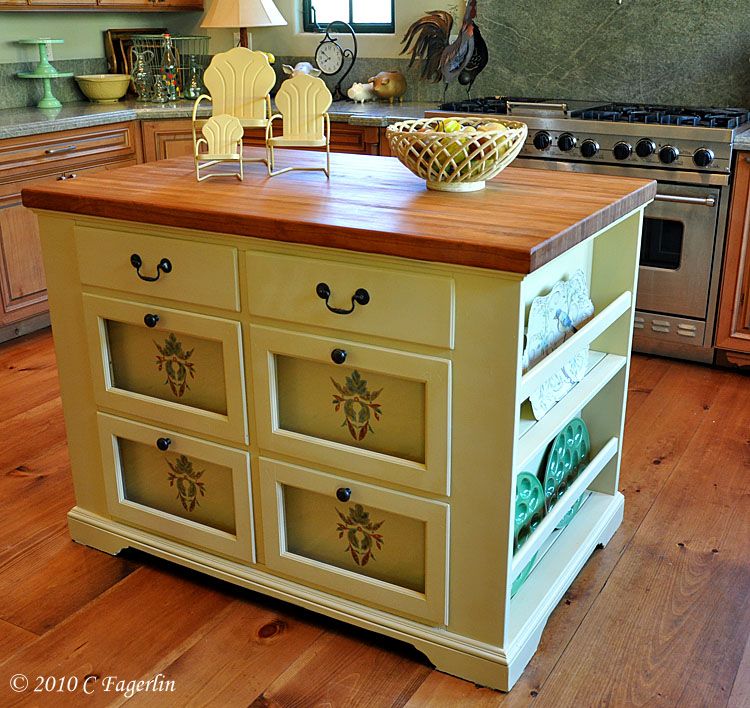
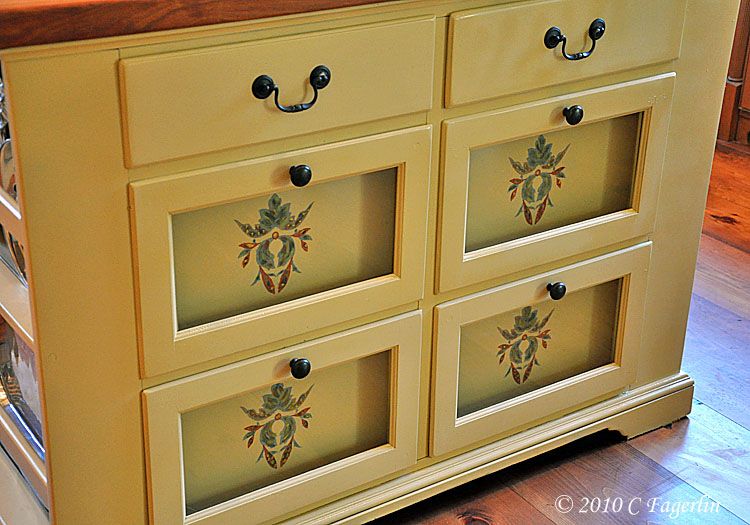
And here is the finished product.  I'm liking it so much better, much lighter and brighter.
It's like having a whole new piece of furniture! The butcher block top received a heavy coat
of mineral oil and will probably need another in a week or so.


EDIT 7/14/10:
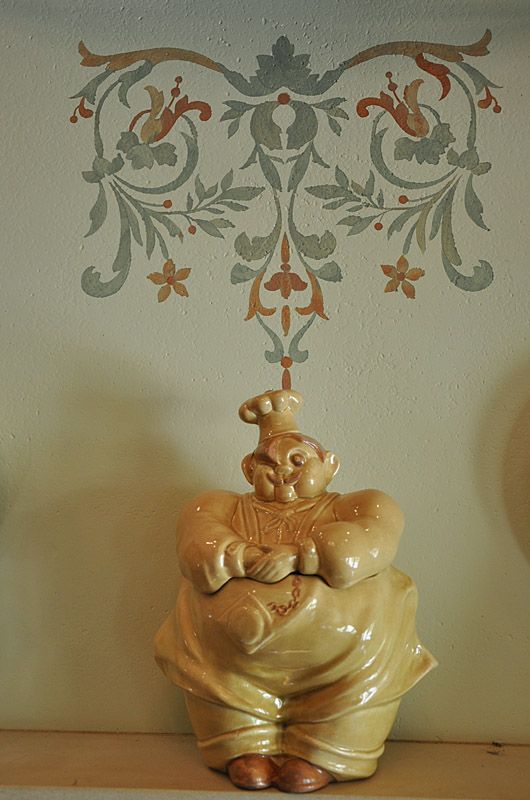
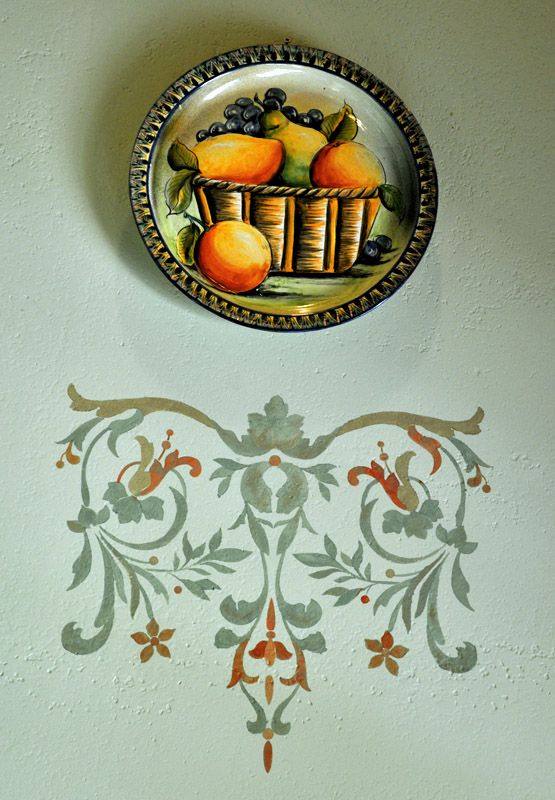
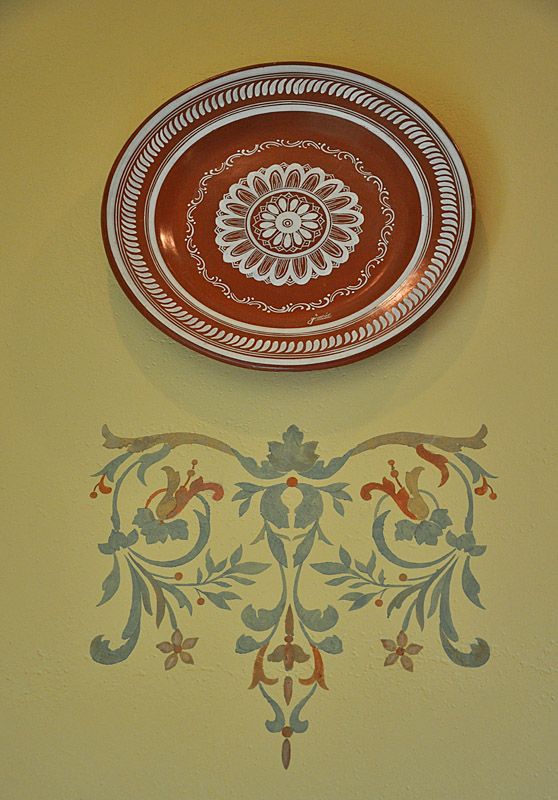
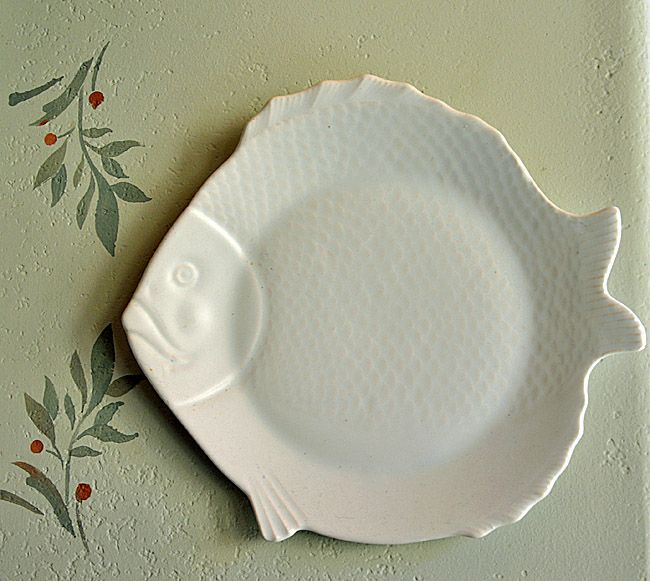
I received a number of questions on the stencil I used.  It is a portion of
the larger stencil I used on my kitchen walls, although I used more intense
colors on the island rather than the muted colors I chose for the walls in the kitchen.
I also did some freehand embellishment to give it a more rustic look.
Originally I had planned to sand the wall stencils to give them some "age", but as it
turned out I liked them just the way they were. :-)


So that's one more thing I can mark off on my summer TO DO list.


Thanks for coming by for my Saturday Night Special and Furniture Feature Friday!
Related Posts with Thumbnails