

This is a tale of inspiration and a makeover that spanned ten years in time, where the results became something better than the sum of its parts.
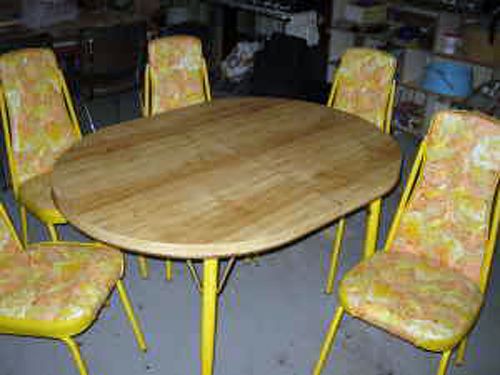
In 1979 when we moved back to California from the mid-west, I left behind an example of hideous 70s design. It was a vision of dark wood grain Formica, black vinyl and stainless steel frames. Similar to this one on Craig's List. There are not too many stock images of this design on the internet, which is a good thing! The whole of the 70s is best forgotten.
 At the time I was on a total Scandanavian Design kick. The look of rosewood and teak and "modern" Americanized versions of well built, inexpensive furniture. (I was still trying to convince Mr. TLRT that "eclectic European" was the way we should go.) This "little round table" became our kitchen table for the next 20 years or so, until it was replaced by a farm table in the mid 90s.
In 1979 when we moved back to California from the mid-west, I left behind an example of hideous 70s design. It was a vision of dark wood grain Formica, black vinyl and stainless steel frames. Similar to this one on Craig's List. There are not too many stock images of this design on the internet, which is a good thing! The whole of the 70s is best forgotten.
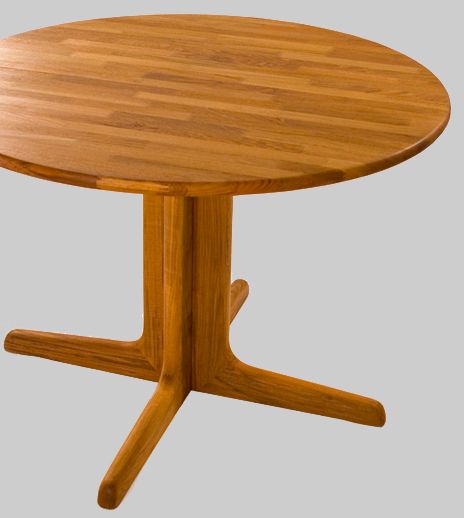
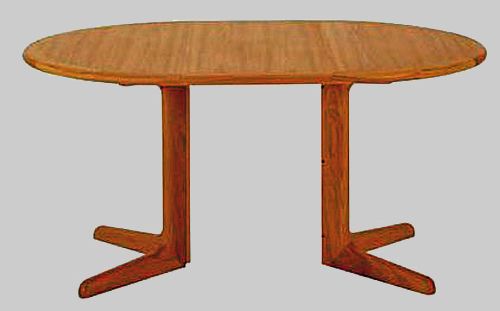
These are images of a similar table, still available today. The design is the same, but the boards used in our table ran the full width of the table and it was constructed of lumber a full 3" wide by 1½" thick. No MDF or veneer involved. It had one large leaf, which came in handy as our kids became teenagers and went through the "he looked at me" and "she touched me stage."

You can read about my last kitchen HERE
Yes, I still have the CHAIRS!
Image by Dan Mayers for Country Collectibles Fall 2002
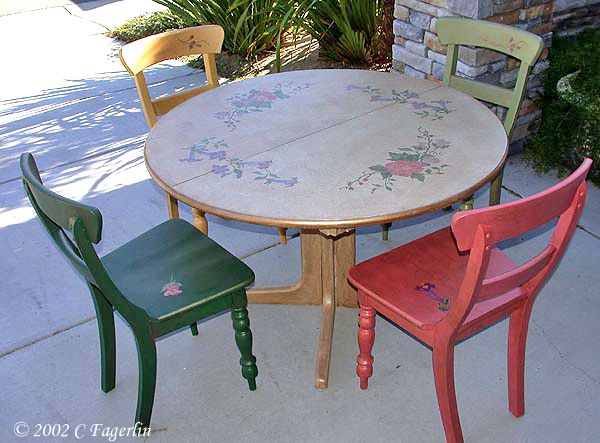
Back to the little teak table. My DIL wanted a new dinette set and wanted me to paint the little teak table for her growing family. At the time her kitchen wouldn't accommodate the table with the leaf (several years later when the family moved to a larger house, we would regret not looking harder for the missing leaf). Painting teak can be problematic because of the oils in the wood and it's natural resistance to water, but lots of sanding and sealing solved that issue.
We ended up with a textured faux leather finish with floral stencils using a couple of base coats, multi-colored acrylics for the stencils, a copper based glaze, followed by a couple coats of clear matte finish. The base coats were rolled on with a long fiber roller to give it the texture.
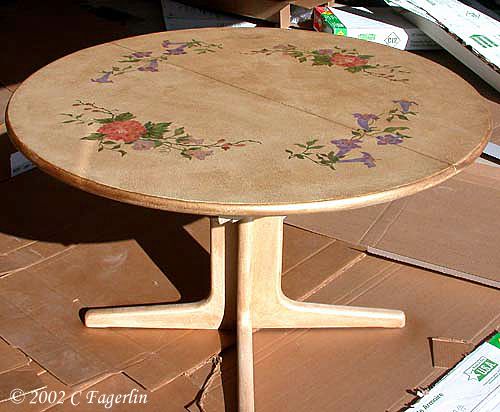
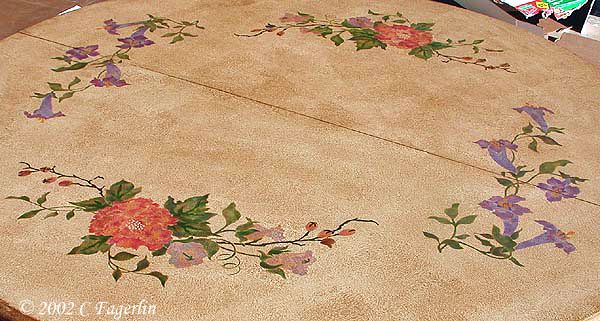
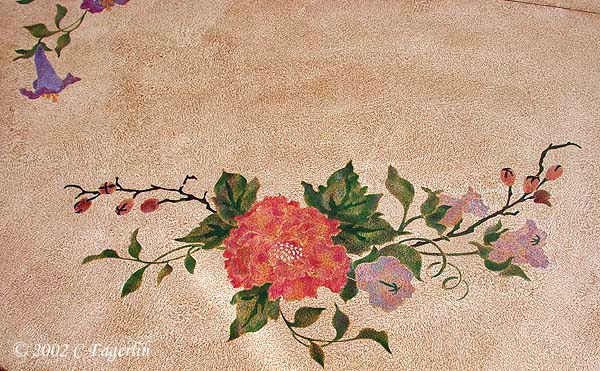
DIL picked out these unfinished chairs and they were painted with the same acrylic colors used for the stencils. Again a couple of base coats, 2 coats of color, stencils, sealed with clear matte finish.

We topped it with glass and the family is still enjoying it today.
The Rest of the Story
The missing leaf to the teak table was found when we moved to the new house in late 2006. I knew someday I would re-work it into something awesome. Have you discovered Pinterest?

Inspiration hit yesterday as I cruised the wonders on Pinterest.
Bathtub caddies from:
Bathtub caddies from:
Eureka!


Mr. TLRT helped me turn over a new leaf ..... in about an hour!
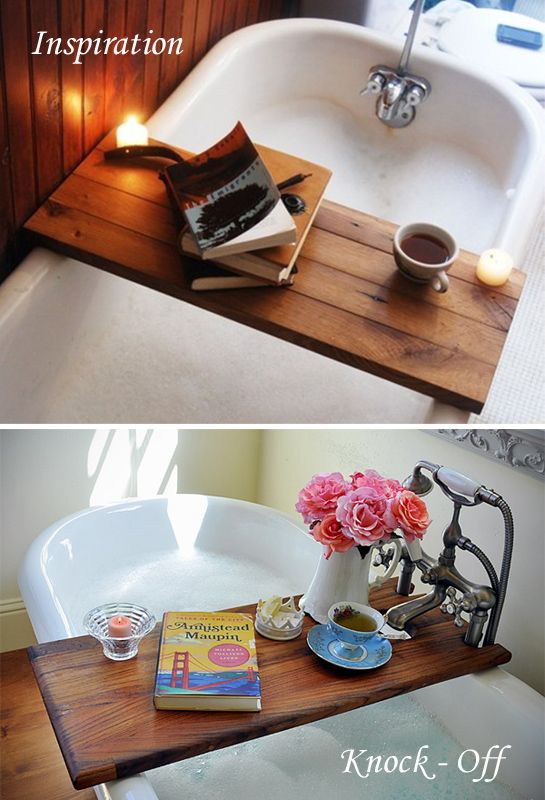
We made a pattern to accommodate the center mounted faucets and spout on the claw foot tub. The cut-outs that wrap around the supply pipes stabilizes the caddy so it doesn't move around and also allows the caddy to be rotated out of the way when your bath is completed.
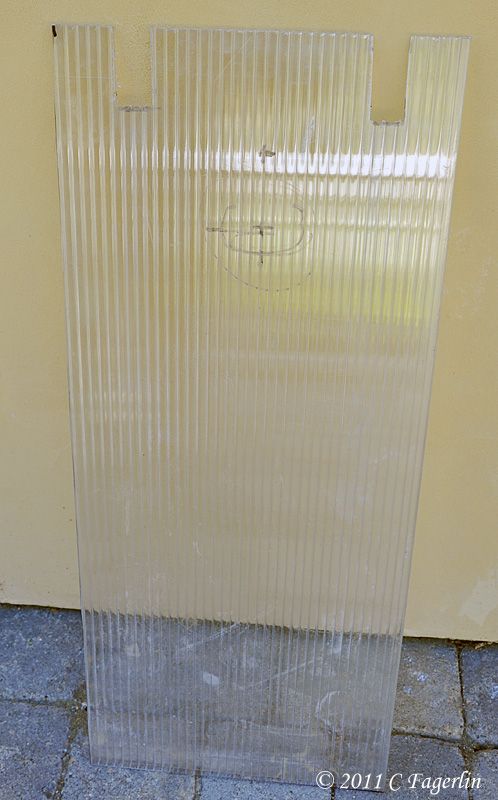
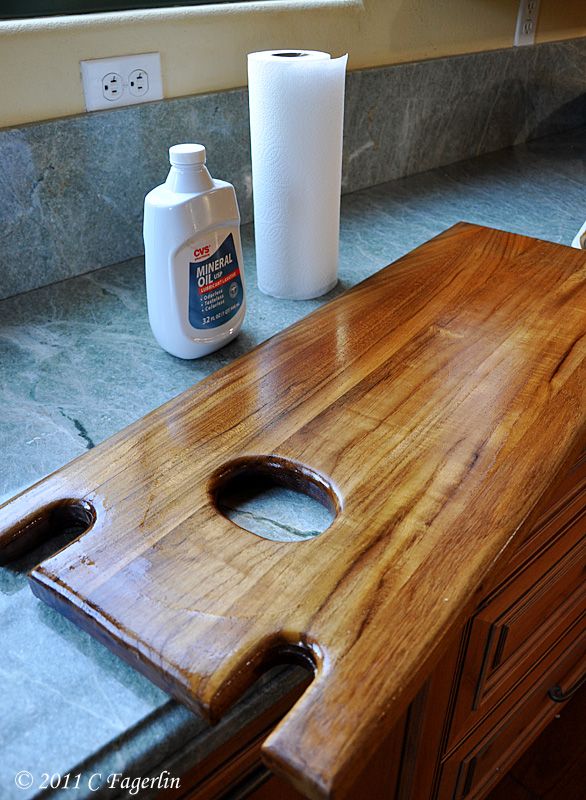
Mr. TLRT is speedy and had the caddy cut and sanded before I could even get the camera! Here's the leaf and the piece taken out for the caddy.
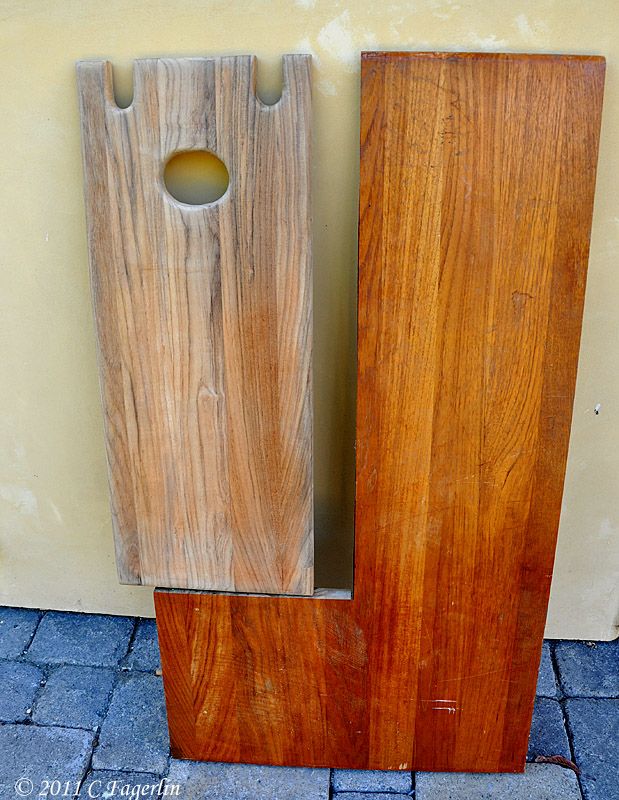
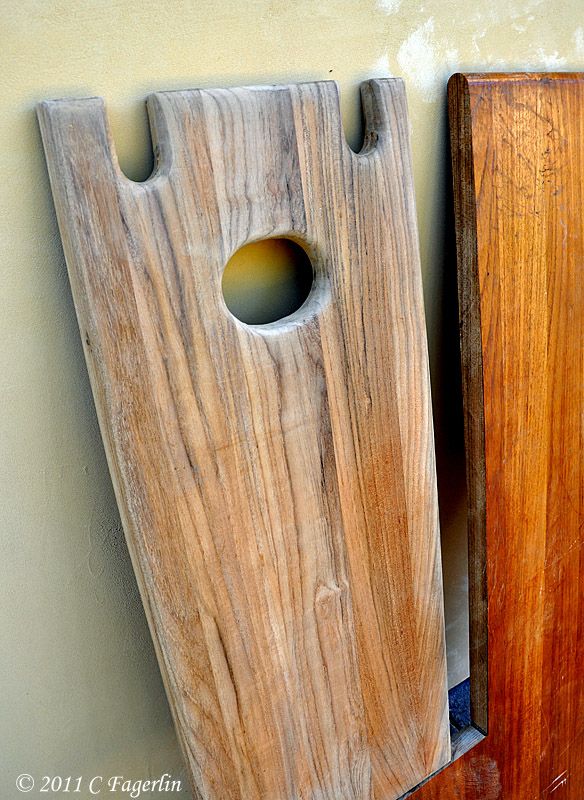
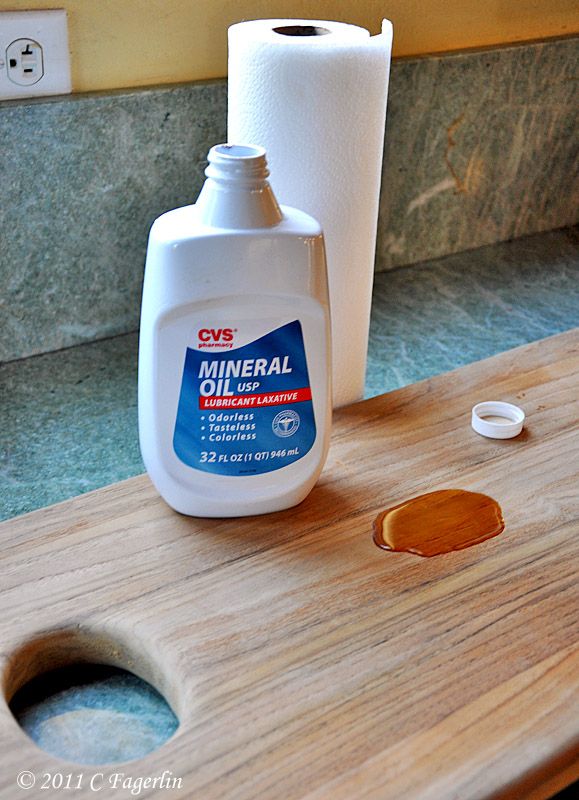
A couple coats of mineral oil to bring out the color of the teak, which is perfect for wet situations.
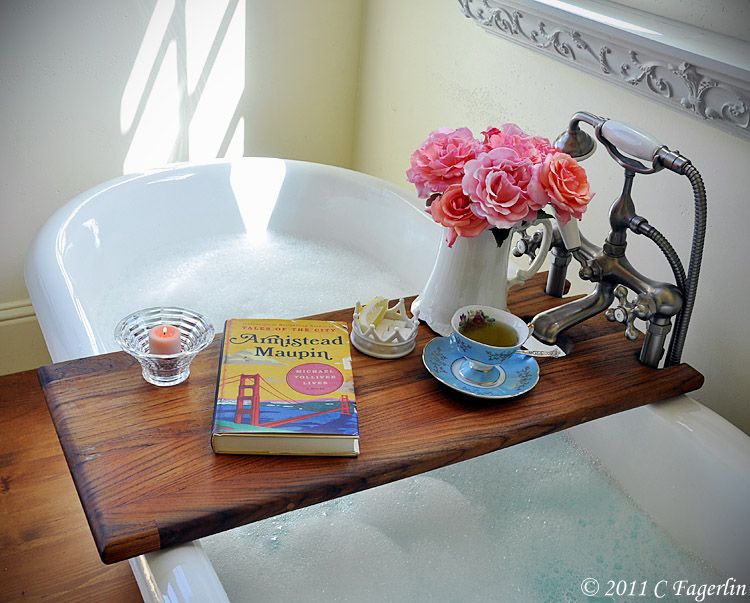
A morning bath.
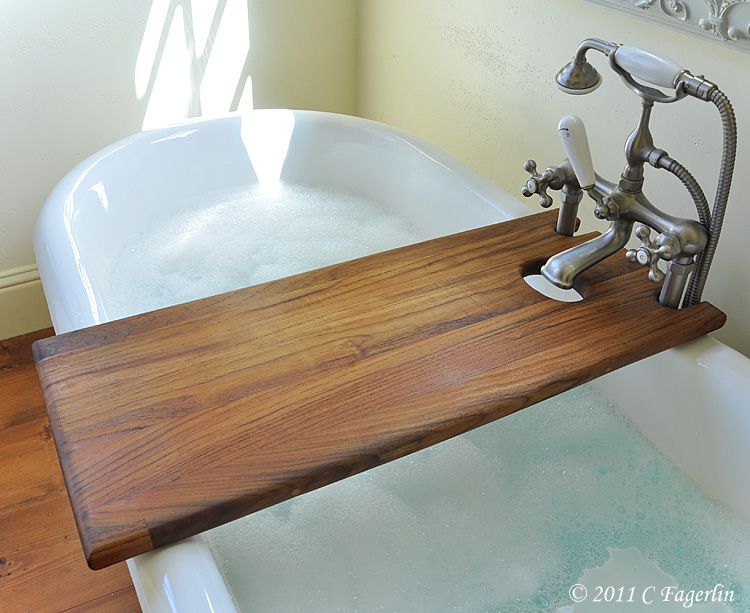

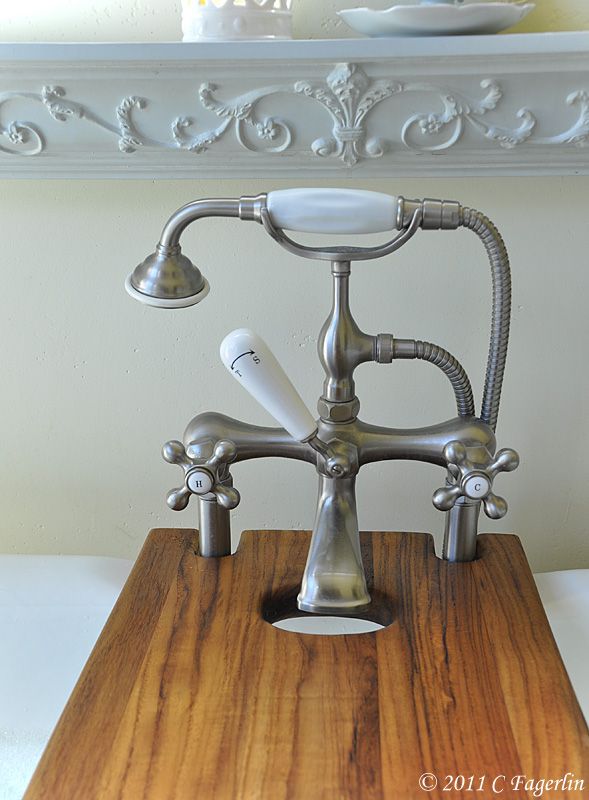
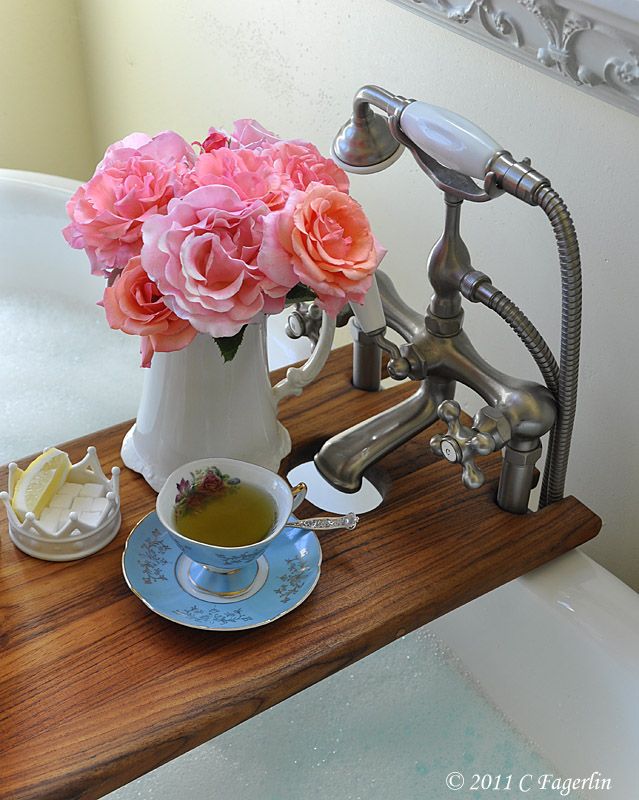
I love my Mr. TLRT, but I love my new bathtub caddy almost as much!
Scroll back up and check out how much of the leaf is left over ......
I see some awesome cutting boards in my future!
Total cost = ZERO, unless you want to factor in the original cost
of the table in 1979 which was $149.00.
Thanks so much for stopping by today.
I'm joining:
Metamorphosis Monday at Between Naps On The Porch
Alphabe-Thursday at Jenny Matlock for the letter "K" - "K" is for my knock-off tub caddy!















 Posts
Posts


