Showing posts with label Cookies. Show all posts

Saturday, December 11, 2010

Cookie Parties

I'm joining Johanna for her International Christmas Cookie Party over at
Silber & Rosen
Join the party over at Designs By Gollum for Foodie Friday
Cookie Exchange at Southern In My Heart
Sister Saturday Cookie Virtual Exchange at Gourmet Meals For Less
Sunday Showcase at Under The Table and Dreaming


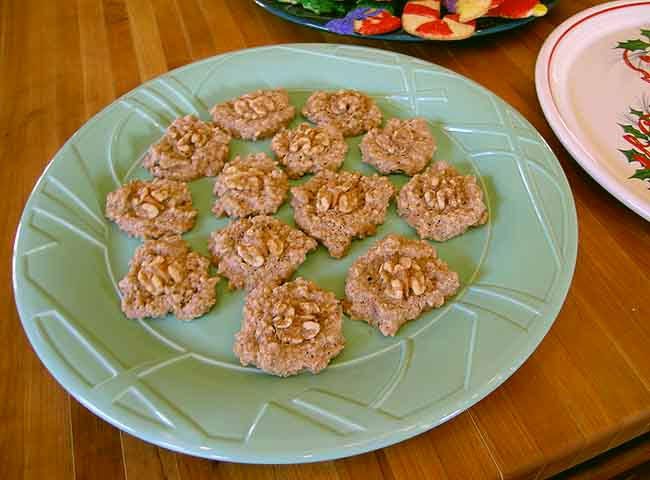
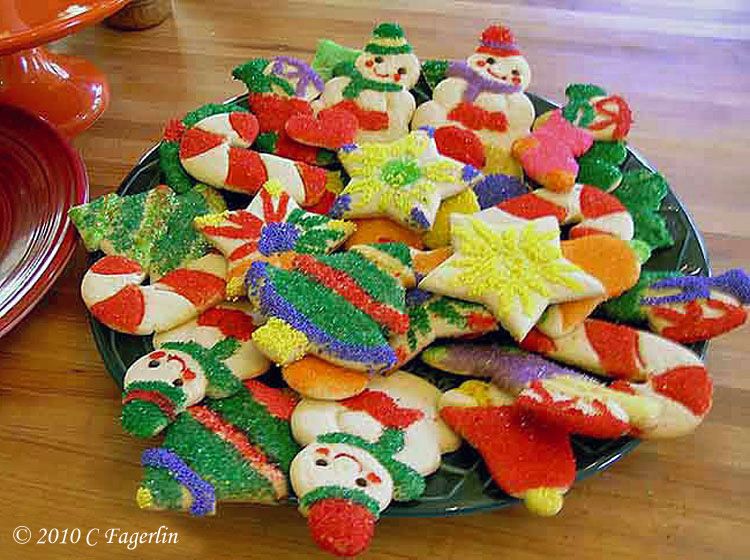
One of my favorite cookies of all time and so very easy to do.
Grandma, Grandpa, Mom, Dad, Auntie and Uncle and all the kids and cousins
will rave over these very versatile and quick cookies.
You can even have them on a casual buffet table for a "make your own" dessert!


Pizzelle
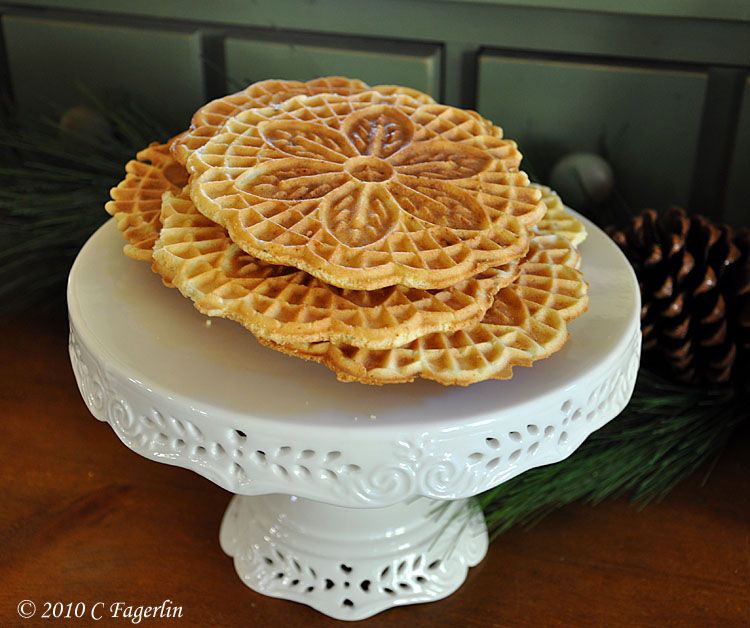
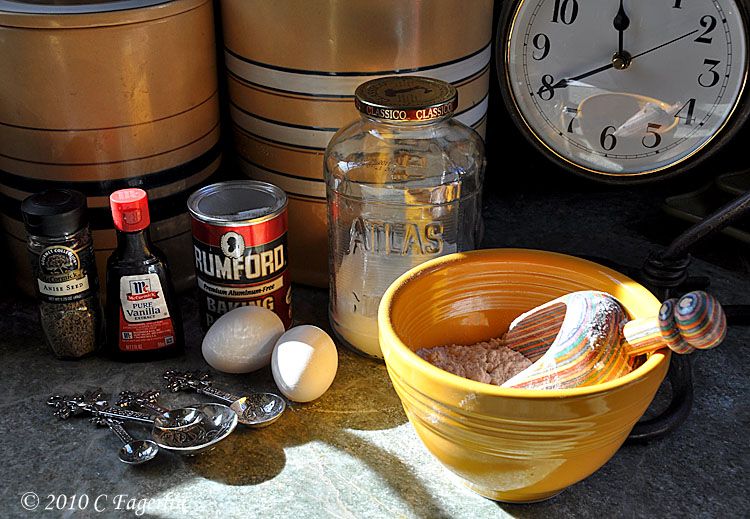
Pizzelle (singular pizzella) are traditional Italian waffle cookies made from flour, eggs, sugar, butter or vegetable oil, and flavoring like vanilla, anise, or lemon zest. Pizzelle can be hard and crisp or soft and chewy depending on the ingredients and method of preparation.


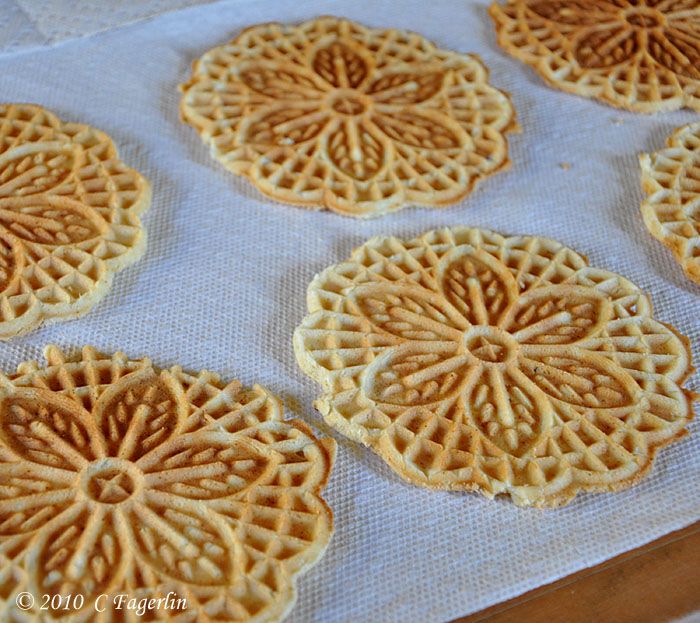
Pizzelle were originally made in the Abruzzo region of south-central Italy. The name comes from the Italian word for "round" and "flat". Many other cultures have developed a pizzelle-type cookie as part of their culture like the Norwegian Krumkake.  It is known to be one of the oldest cookies, believed to have developed from the ancient Roman crustulum. Traditionally the cookie dough or batter was put into a pizzelle iron, which was held by hand over a hot burner on the stovetop. Typically the iron stamps a snowflake pattern onto both sides of the thin golden-brown cookie, which has a crisp texture once it is cooled. I use an electric pizzelle iron, which is very similar to a waffle iron, with a clamp to press the two sides of the iron together, which prevents the dough from puffing up.


There are thousands of recipes for pizzelle, here is a very basic one that makes about 18-20
cookies in my electric iron. I use both vanilla and anise.  Fresh lemon zest is also extremely
tasty!


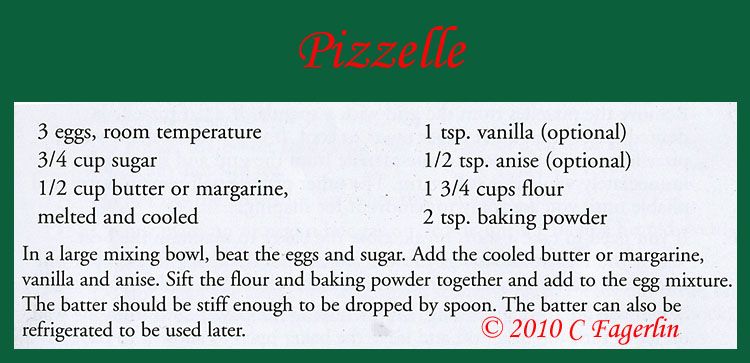
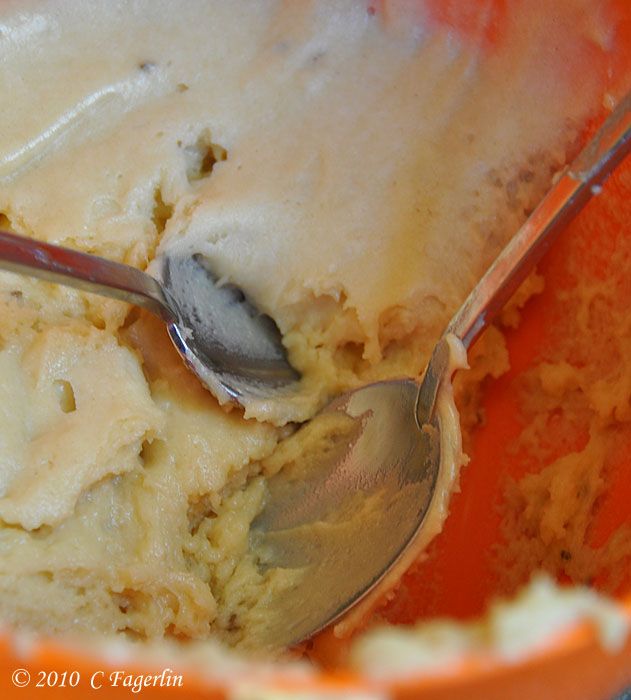
The dough is quite thick and should not be runny like traditional waffle batter.
This is truly a cookie dough that is baked on an iron instead of the oven.


It takes some practice, just like with waffles, to know how much batter will be just the right amount.  Don't throw away the excess outside the design!  I just use a sharp paring knife while
the cookies are still warm and save it for sprinkles on ice cream sundaes.


Allowing your iron to return to very HOT between each baking is the key to success.
Depending on whether you like your cookies dark and crispy or soft and light colored,
determines how long to leave them in the locked iron.


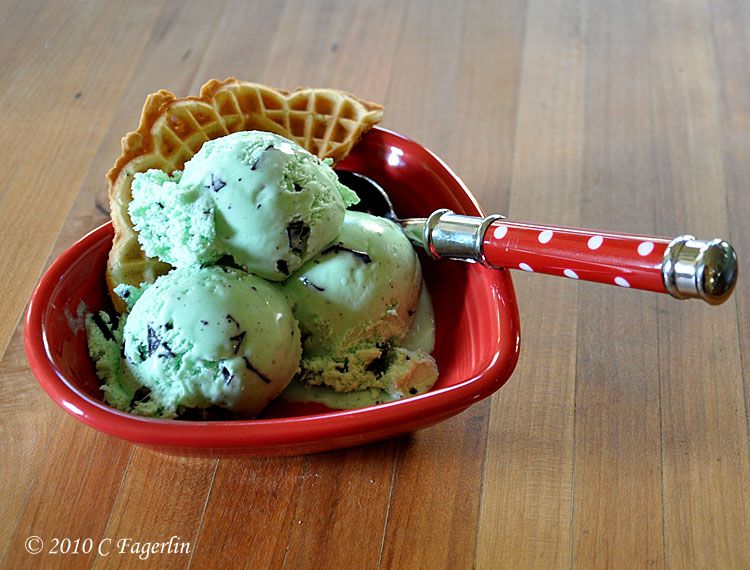
Pizzelle are popular during Christmas and Easter and are also often found at Italian weddings, alongside other traditional pastries such as cannoli. It is also common for two pizzelle to be sandwiched with cannoli cream (ricotta blended with sugar) or hazelnut spread. Pizzelle, while still warm, can also be rolled by hand or on a wooden dowel to create cannoli shells or waffle cones for ice cream.

Remember ..... they are super easy, super tasty and always a hit with party guests or family.

Tuesday, November 16, 2010

International Christmas Cookie Party - Week 3


I'm joining Johanna for her International Christmas Cookie Party over at Silber & Rosen


Walnut Spice Kisses
1 egg white only (no yolk)
1 dash salt
1/4 cup granulated sugar
1 teaspoon cinnamon (ground)
1/8 teaspoon nutmeg (ground)
1/8 teaspoon cloves (ground)
1 cup very finely chopped walnuts
walnut halves for the top of each cookie

I usually grind my own spices so I use a tad less of each, prepared ground spices works just as well. I also triple or quadruple the recipe because they go so fast.

Beat egg white with salt until stiff but not dry. Mix sugar with spices; gradually beat into egg white. Fold in the finely chopped walnuts. Drop by teaspoonfuls onto well greased baking sheets. Top each with a walnut half. Bake at 250°F for 35 to 40 minutes or until crisp and dry. Remove to wire rack to cool. Store in tightly covered container so they stay crisp and dry!


See you again next week with more cookies!

Tuesday, November 9, 2010

International Christmas Cookie Party - Week 2

I'm joining Johanna for her International Christmas Cookie Party over at Silber & Rosen


This is another family recipe for cookies, nothing fancy this week.
These make great cookies for breakfast, to take on a walk in the woods or on a long plane trip.


Ranger Cookies


This is not anything unique, just a family favorite and better than any power bar I've ever found! There are a bazillion recipes for "Ranger Cookies", but many of them have corn flakes in them. I find the recipe I use to be far superior. (And it's the coconut that you never want to tell the kiddies about ...... my oldest granddaughter still tells the story about how I "tricked" her into eating the cookies with the "eeewwwww coconut" in them. By the way they are her favorite cookie.)


1/2 C Butter & 1/2 C Margarine (I use all butter)
1 C Sugar
1 C Brown Sugar
2 Eggs beaten
2 1/4 C flour
1 t vanilla
1 t salt
1 t baking soda
1 t baking powder
1 1/2 C rolled oats
1 1/2 C Rice Krispies
1 C coconut

Cream shortening and sugar, add flour, salt, eggs, vanilla, soda and baking powder.

Add oats, Rice Krispies and coconut one at a time only until blended. Don't crunch the Rice Krispies to powder by over mixing, I add those last. Drop by spoonful onto greased baking sheet, flatten slightly. 12-15min 350F.


In our family there are those (like me) that like these flat and crispy, on the almost overdone side. Then there are those who like them slightly underdone, which makes them softer and chewy. The one imperative is that you have a glass of cold milk handy! These are a lot like potato chips, in that you can't just eat one.

Wednesday, November 3, 2010

International Christmas Cookie Party

I'm joining Johanna for her International Christmas Cookie Party over at Silber & Rosen,
bring your cookie recipes to share and sample cookies from other readers.
and
Whatever Goes Wednesday over at Someday Crafts
and
Night Owl Crafting is hosting another Hoo's Got Talent party

I've been making these cookies since I was a little girl.
The cutters were originally made by a small company in Oklahoma in the early 1950s,
but are now available on the web from Gramma's Cutters . The website has all kinds
of fun information on the history of these cutters and tips on recipes and icings.


Sugar Cookie Recipe
(this is just one suggestion, use your own favorite sugar cookie recipe if you like)

IN A MIXING BOWL COMBINE:
4 Cups Flour
1 Teaspoon Salt
1 Cup Shortening -- cut-in until fine
COMBINE IN SEPARATE BOWL:
1 Cup Sugar
2 Eggs
IN SEPARATE CUP COMBINE:
1 Teaspoon Vanilla
1 Teaspoon Soda
1/4 Cup Milk for Crunchy Cookies (or for soft cookies - 2/3 Cup Milk)
1/2 Teaspoon Almond Flavoring (optional)
Make a well in the flour mixture and slowly add everything to it, mixing thoroughly.
On floured surface with flour coated rolling pin, roll dough out to 1/4 to 3/8 inch thickness.
With floured cutter, place cutter on dough and press down firmly with fingers all around edges to make sure the entire edge is cut. (Helpful hint - very lightly sift flour on top of rolled out dough. This helps reduce the number of times cutter has to be floured). 

With spatula, lift cutter and dough. With thumb, rub cutting edge clean of dough and gently press dough into cookie cutter, being careful not to press dough to thin inside the cutter. 

Tap cutter down on table, cookie sheet or in your hand and dough will come right out. Flour cutter before cutting next cookie and repeat process.  

Bake in a 350ยบ oven for 8-10 minutes. Cool thoroughly before decorating.


***Decorations to be added before baking are Snowman eyes and Santa eyes, see notes below.***

*************
Decorating Sugars in small bowls each with a separate spoon.
Glue - egg white mixed with a tiny bit of water or corn syrup
Red food coloring with a fine tip brush for Santa's mouth
Paint brushes
Frosting


The cookies are decorated after baking, with the exception of the Santa's raisin eyes(cut raisin bits in a triangular shape or just cut a raisin in half and flatten it before applying to the raw dough) and the snowman's whole allspice eyes. A crisp firm sugar cookie is required so the baked cookie is tough enough to stand up to handling and won't absorb so much moisture from the frosting that it softens the cookie. Experiment with the thickness of the rolled dough, too thin and they will break during the multi-stage decorating process. Too thick and they will be like bricks!

The frosting I use is just confectioners' sugar and egg white (or use milk if you prefer).
Thicker consistancy for the eye-brows and mustache than the beard area works best.
Apply fresh coconut to the moist frosting for Santa's beard.

I keep the trays of cookies in an oven with the light on to maintain their crispness and to dry them between coats of decoration. Each sugar color should be done, then dried in the oven prior to applying the next color. I use small paint brushes to apply the "glue" ...... do NOT freak out when I tell you that the glue is egg white with a few drops of water beaten in. We've been eating these and feeding them to people for decades and the egg thing has never been a problem, but you can use corn syrup as "glue" if you prefer. Bowls with sugar and a spoon in each, hold the cookie over the bowl and spoon sugar over the area to be covered. Gently tap the back with the cookie face down to knock off excess sugar. You can also use a DRY paintbrush ( small art brushes that are only used for cookies) to brush off any remaining excess sugar crystals.

Kids love to decorate these cookies!  It's a wonderful holiday project that will bring out the artist in even the most jaded of grinches!  These make great hostess gifts, wrapped in Saran wrap and tied with a pretty ribbon they can also be used as decorations on the Christmas tree. If I've missed explaining anything, just post your questions in the comment area and I'll give you more information. 


One of the secrets to these cookies is that the cutters are 3 dimensional and because the dough is pressed into the cutter it is a "molded" cookie with depth and dimension.  Notice Santa's cheeks in the image below.


Grab a glass of milk and help yourself to a few of these, they are delicious!
Related Posts with Thumbnails